Posted in Recipes

Rustic, Reliable, Ridiculously Good: A Sauce to Die For

I’m an avid home cook with just a sprinkle of delusion—I mean, who doesn’t pretend they’re a world-renowned chef in their own kitchen? Kidding… sort of. But honestly? I do think I’m not to bad in the kitchen. So I often experiment and sometimes I come out with real winners and other times it’s a complete flop. But this is a “sauce” I’ve been doing for years and it never fails me.

It’s rustic, a little sweet, tangy and light. It’s one of my favourite go-to sauces for when I have to make a quick pasta on the fly. And I usually have all the ingredients on hand, since they are staples in our home. And I find this is great with any pasta shape you like, so booooonus!

Now forgive me, but I cook like my Nonnas taught me, which is a pinch of that and a sprinkle of this, etc. So I’m going to try giving measurements to the best of my ability. Okay? OKAY! I’ll quit yapping now and get to it.

Recipe:

  • 2-3 Vine tomatoes, rustically chopped
  • 4-6 Garlic cloves, rustically chopped
  • 1 Very large Sweet Onion, rustically chopped
  • 1/2 Cup Olive Oil
  • Salt to taste
  • A pinch of black pepper, small pinch
  • Approximately 1 Tbsp of Garlic powder
  • Approximately 1-2 Tbsp of Italian Seasoning

Here are some side notes before we jump into the instructions.

  1. I usually like to mix different tomatoes, so if I have some vine tomatoes and cherry tomatoes, I will do a half and half mix. You can use any tomatoes you prefer though and adapt as you like.
  2. I LOVE garlic and my husband is secretly a vampire (just kidding), but the more garlic the merrier in our house. If you don’t enjoy a lot of garlic, cut down on the amount or if you do, add more.
  3. I like sweet onions, personally for this, because it balances out the acidity of the tomatoes, however if you have another type of onion on hand, use it! The only type I don’t recommend using is red onion, but again, try at your own risk!
  4. OLIVE OIL, please! You can use other types of oil, but if you are going to take the time to make this, than a really delicious olive oil is a must. It is the base of the whole thing so why not? Plus a good olive oil has incredible flavour.
  5. Spices and Herbs are pretty simple but if you wish to pack a bit of a punch, add some red pepper flakes while it’s cooking. Also fresh is best, BUT dried are completely fine and often what I use because it’s readily available. Be creative and adapt to whatever you enjoy.

Instructions:

  1. Roughly chop all ingredients and set aside. This is rustic, so it’s okay if things are different shapes and sizes. (Sorry I forgot to take a picture of the onions…oops!)

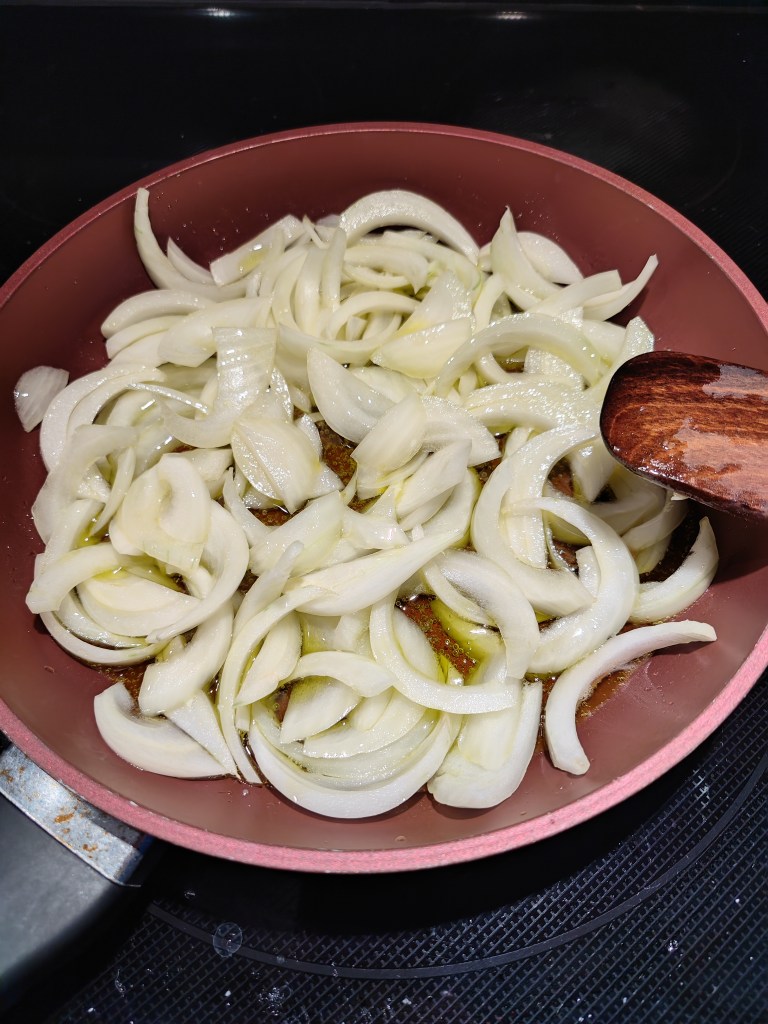
2. Preheat the pan and add THE oil. Heat will be medium to medium high. Once hot, add in the onions first and sprinkle with just a pinch of salt. This helps to draw out the moisture and caramelize them. Cook the unions until slightly tender.

3. Add the tomatoes, garlic and spices once the onions are slightly tender. Reduce heat to medium low and let everything simmer gently. When the tomatoes have softened slightly, which takes only a few minutes, you will then take the back of the spoon or spatula (whatever you prefer to use when you cook, I personally like wooden spoons) and crush some of the tomato chunks. Leave some whole chunks.

This is the time when you’d also taste test for seasonings. Add more if necessary. Just remember, you can always add but you can’t subtract.

4. The sauce is ready when everything is tender, which is approximately 15-20 minutes. It should look like the photo above. Also, take into account the amount you are making, timing could be different.

I do suggest that you begin cooking your pasta before the sauce is ready, usually when it’s about half-way through. Drain your pasta, add a bit of sauce to the empty pot, put the pasta back in and add the remaining sauce, mix well.

Plate into bowls for your family or guests. You can also reserve some of the sauce to place on-top of bowls for a little bit extra.

I can’t claim this as an original, I’m sure some other Italian came up with this deliciousness waaaaay before I even came along. However, this is my version so if you try it, I truly hope you enjoy it!

Buon Appetito! 💋

Ciao!

Posted in Recipes

Zucchini Bread

I really wanted to make zucchini bread for a bunch of reasons. One is because I love zucchini and two I’m not entirely sure I made zucchini bread before. I honestly can not remember, but I’ve definitely had it before and thought it was DE-LIC-IOUS!

So, I got some zucchinis in the markdown section at a grocery store called Farmboy, but I got them for zucchini fritters. However, there were far too many for the fritters, so zucchini bread it was!

I found the recipe online, which I have linked down below after the photos, so I take no credit for the amazing recipe. But I HIGHLY recommend going and trying this one. I didn’t add the nuts, however I made one plain and one with chocolate chips. Both turned out wonderful and you all know that I have to put my little spin on things. I never follow a recipe completed….I know I’m insane! Just kidding, I just enjoy the trial and error to be honest.

Just so everyone is aware, I made these last Wednesday, so this post is a little late. Sorry!

So as you can see below, hot out of the oven, there are the two beautiful breads. The flavour was like a cinnamon bread, super moist and you really couldn’t taste the zucchini at all, just saw the little shredded strands throughout the bread.

Here is the link: https://www.spendwithpennies.com/zucchini-bread/#wprm-recipe-container-140149

A must try and definitely going into my recipe book! Hope you enjoyed, more recipe trials to come.

Ciao!

Posted in Health & Wellness, Recipes

Return of the…Mom-i

As you can tell, my attempt at a play on words kind of sucks and Star Wars would be sadly disappointed in me right now. I’m also not a Star Wars fan, I know I know! Please don’t come for me, does my love for baby Yoda count for anything?!

It’s been a tough couple of weeks to be quite honest. I’ve been terribly sick with food poisoning, heat stroke, Iron deficiency and even parasites (YUCK!). Not to mention just within the last few days, my husband and daughter have been pretty sick, we think it’s food poisoning, but not entirely sure. There is definitely something going around this summer. Regardless, it’s been a bit of a struggle.

But I’d like to talk about the more positive points, instead of all the negative ones. Valeria is loving her swimming lessons, we are enjoying the summer heat (when we can and aren’t sick), we are spending plenty of time with family, I’m trying out new recipes (and tweaking as I go) and I’m trying to catch up on reading everything!

Below are the blueberry muffins I made today and I will link the recipe, if you are interested in giving it a go. I didn’t end up doing the topping because I thought it may be too sweet for Valeria. They turned out absolutely delicious! I will tweak this a bit next time and do a bit of experimenting by adding a touch of lemon to it and probably substitute the granulated sugar for brown sugar. I personally think brown sugar just gives a deeper flavour. Here is the original recipe: https://www.culinaryhill.com/blueberry-muffins/

I used frozen wild blueberries, I just let them thaw a bit as per the recipe. I found the blueberries at Costco!

Next recipe on the agenda is a Macaroni salad. If anyone has a recipe suggestion for this, please let me know!

That’s it for today and I’m glad to be back to writing. Hope all you lovely readers are doing well and enjoying your summer wherever you are in the world!

Ciao!!

Posted in Recipes

Simple Bread Recipe

  1. 3 1/3 cups (434g) of flour
  2. 1 packet of active dry yeast or 2 1/4 teaspoons
  3. 2 teaspoons of salt
  4. 1 2/3 cups (395 ml) of warm water

Instructions:

  1. In a large mixing bowl, mix together the flour, yeast and salt.
  2. Pour warm water over the dry ingredients
  3. Mix until well combined. The dough will be very wet and sticky. At this point you can add additional flour if desired.
  4. Place the dough in the centre of the bowl, scrapping all the excess from the sides. Lightly coat the top with cooking spray or a bit of oil. Then cover tightly with plastic wrap. Then place a tea towel over that.
  5. Place the dough in a warm spot; such as near an oven or an oven with the light on.
  6. Let the dough rise for at least 2-3 hours. It should double in size.
  7. Use a spatula or clean lightly oiled hands to loosen the dough from the bowl and dump the dough on a well floured surface. Proceed to fold the dough into it’s self a few times before forming into a loaf.
    • NOTE: You can easily skip this step and place the dough directly into a prepped loaf pan if you are in a hurry or lazy (like me most days!)
  8. Place the bread into a parchment lined loaf pan or dutch oven (make sure you heat your dutch oven before placing the parchment and dough inside).
  9. Oven temperature is 450 Degrees. Bake for about an hour, but be sure to check the bread at the 45 minute mark. If you are using a dutch oven: bake covered for 40 minutes then uncover for the remainder of the cook time. The bread should be golden brown and a toothpick should come out clean.
  10. Place bread on a wire rack to cool for at least 1 hour before eating.
  • If you wish to add other ingredients such as cheddar and jalapeno. Add the ingredients to the dry ingredients and mix well before adding your water.
  • You can place the prepared and covered dough in the fridge over night or for up to three days. But make sure when you take out the dough, allow to come to room temperature before baking.That’s usually about an hour to 1 1/2 hours.
  • Have fun with it! Adapt as you need to and make up your own breads.
Posted in Recipes

Never Skip Bread Day…

.